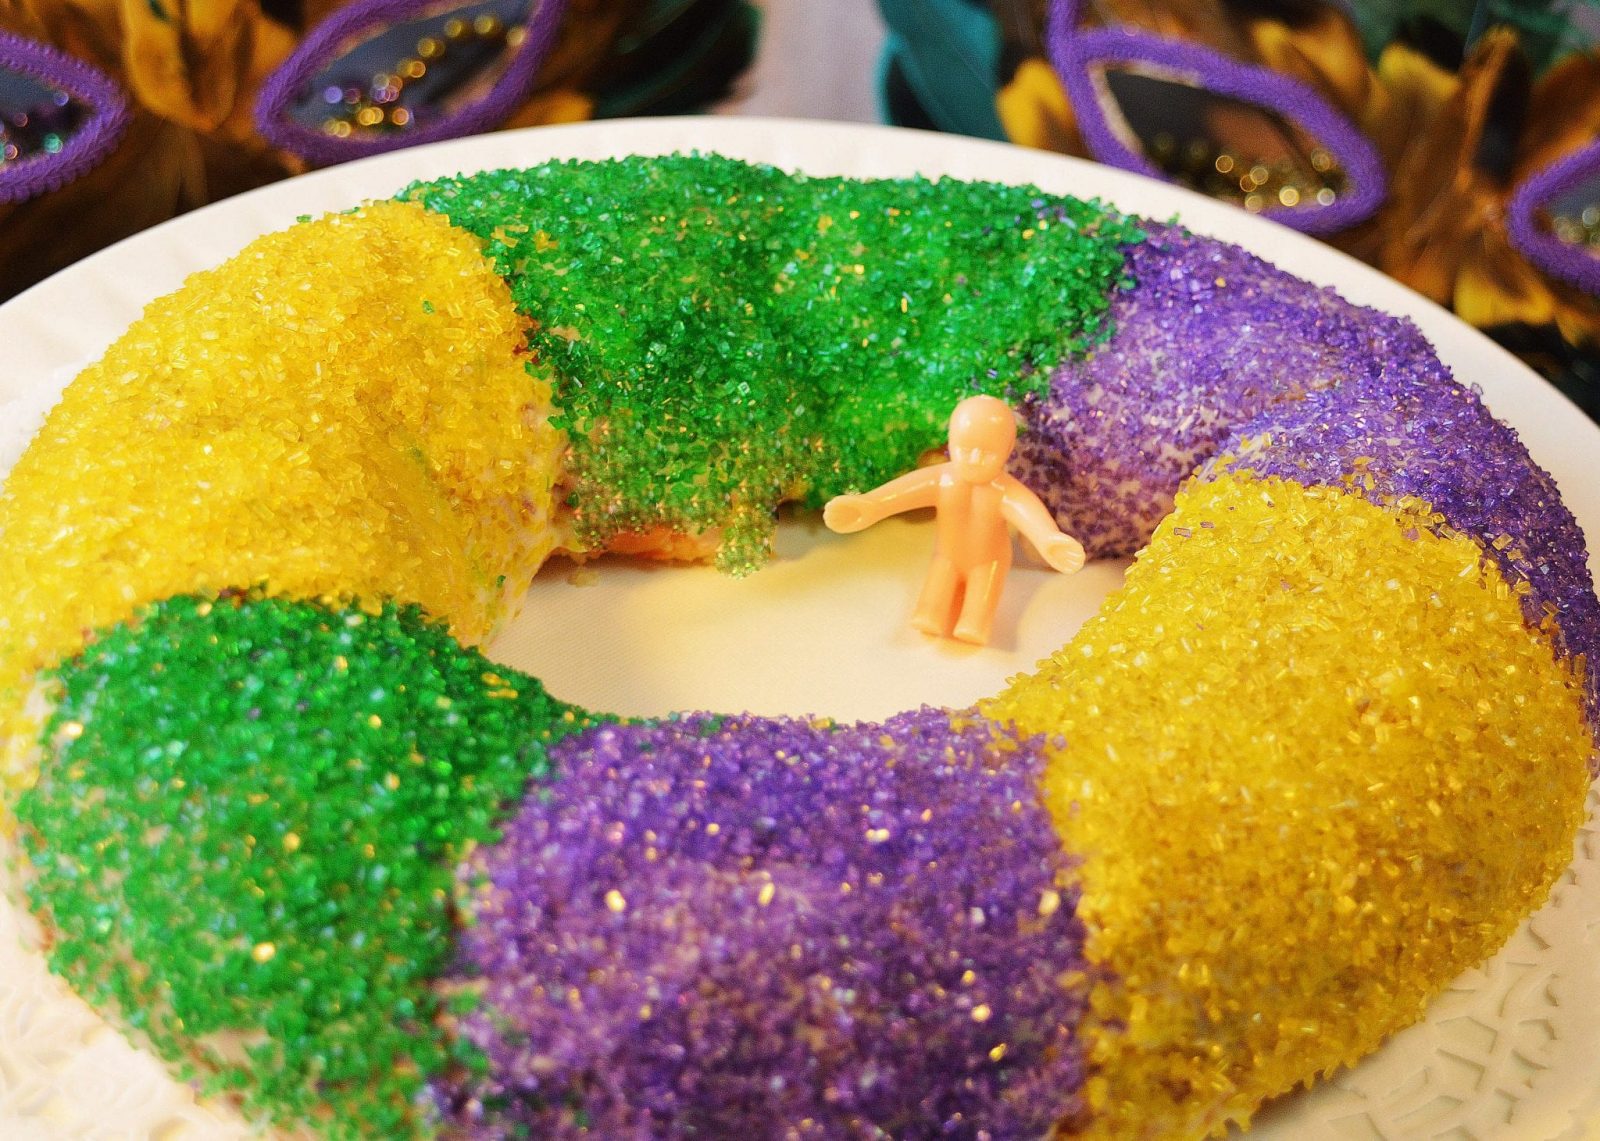
Jazz up your Mardi Gras celebrations with a vibrant King Cake this year. King cake has an interesting history that dates back to the time when Louisiana was a territory of France. Ever since then, King Cake has played a colorful part in the Mardi Gras celebrations of New Orleans. This cake is absolutely delicious! It can best be described as a delightful marriage between a coffee cake and a buttery French pastry. Yep, this is a dream come true for fans of coffee cake and French pastry!
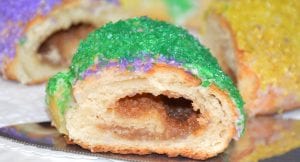
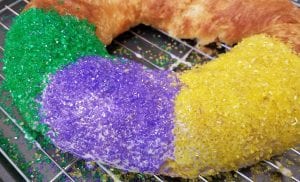
It’s also a great cake to make with the kiddies in your life. Once you’ve baked the cake, children can’t wait to help decorate with the colorful sprinkles. The traditional colors of: green, purple and yellow, or gold have a special significance. Now things are not only fun but also educational as the kids can learning something about the cake they are decorating. The color green signifies faith, purple represents justice and gold/yellow depicts power. Interesting, no? Not only do these colors make for a stunning appearance, but they have a nice story behind them making this cake even more interesting.
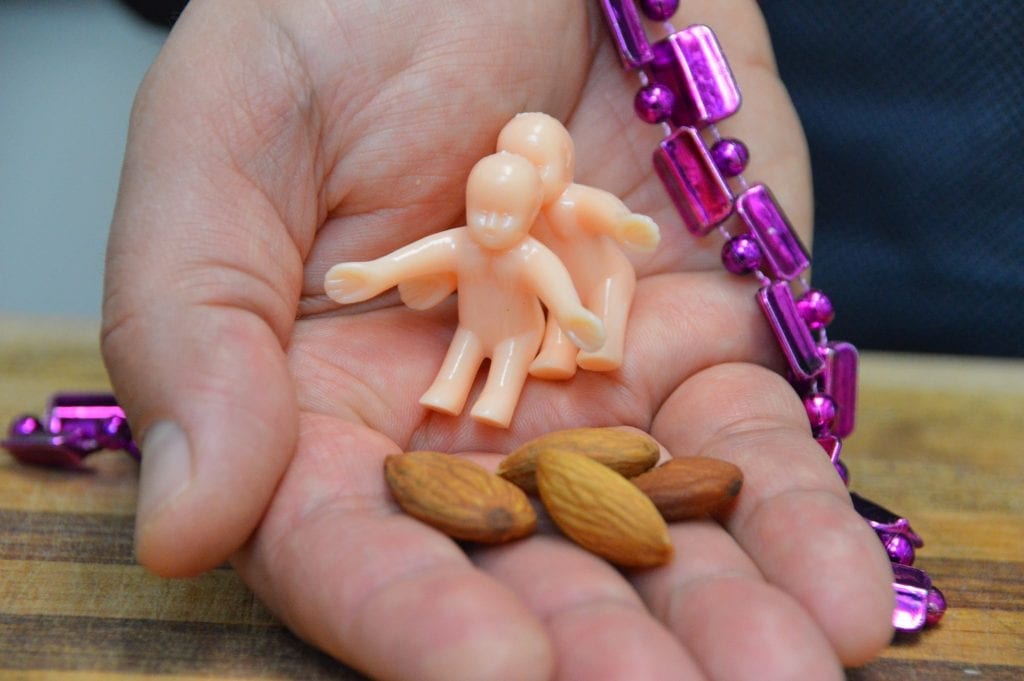
And the excitement isn’t over yet. Oh no! Now we have to talk about the little plastic hidden baby. Yes, a baby! Traditionally, a very small plastic baby is placed in the cake from underneath after baking. It is a lucky token of a surprise for the person who winds up with it in their slice. Some people, if they can’t find the plastic babies, use almonds or a bean as a safe substitute, and these substitutes can be baked inside the cake. The mystique behind the baby is that whoever gets it in their slice is crowned KING or QUEEN for the day!
The Mardi Gras fun Just Keeps on Going!
KING CAKE for MARDI GRAS
(Makes 2 9-inch cakes)
Ingredients: dough
- 1 package dry yeast
- 1 teaspoon sugar
- ¼ warm water. (110-115° F)
- 2 ½ cups all-purpose flour, sifted
- 2 tablespoons sugar
- ¼ teaspoon salt
- 1 stick (1/4 pound), cut into small cubes
- ½ cup milk or cream
- 1 egg
Ingredients: filling
- 8 ounces almond paste
- ½ stick (2 ounces) butter, at room temperature
- ¼ cup brown sugar
- 1 teaspoon cinnamon
- 1 tablespoon lemon zest, grated (optional)
Egg wash
- 1 egg
- 1 tablespoon milk
Icing and colorful sugar sprinkles
- 2 cups confectioners sugar
- 1 tablespoon lemon juice
- 2-3 tablespoons milk
- green, purple, and yellow sanding sugars
Making the dough
- Gently stir the yeast and the teaspoon of sugar in warm water.
- Set aside to in draft-free warm spot to proof (bubble and expand).
- If the yeast does not prove, repeat this very important step. Make sure the water is not too hot or it will kill the yeast.
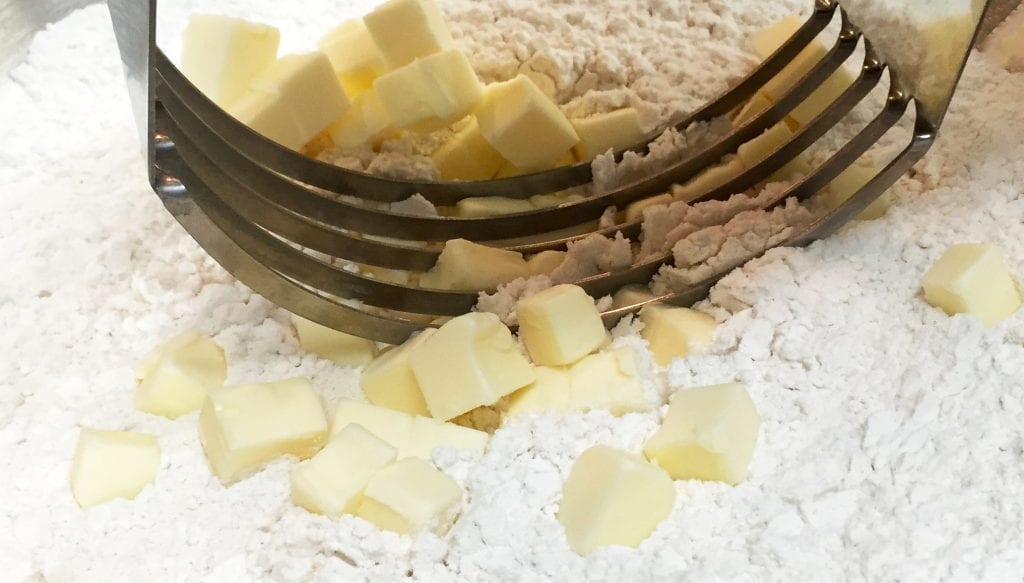
- Sift the flour. Then whisk together the flour, sugar, and salt.
- Cut the butter cubes into the flour mixture, leaving small chunks of butter coated in flour; this will result in a light, flaky pastry.
- Blend 1 egg into the milk and then add in the bubbly yeast mixture.
- Add to the flour and mix until all the liquid is just absorbed to create a dough.
- The dough should completely come together and be slightly sticky to the touch.
- Divide the dough into two and let rest in the refrigerator for at least 2 hours or overnight.
Tip: Definitely do not overwork this dough. Try to maintain some speckles of butter in the dough.
Make the filling
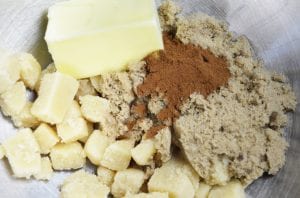
- Break apart the almond paste into smaller pieces.
- Cream with butter, brown sugar, and cinnamon until well blended.
- Set aside.
Tip: The almond filling should be at room temperature before use. It will allow it to spread easier.
Rolling out the dough
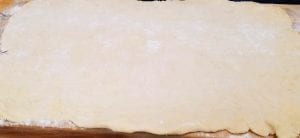
- Preheat oven to 375°F.
- Remove the chilled dough from the refrigerator.
- On a floured board or counter, roll into a rectangle, making sure the dough does not stick to the board.
Tip: It is crucial to work the dough quickly while straight from the refrigerator. Chilled dough will roll out easier and stick less to your rolling pin and work surface.
Assembling and baking
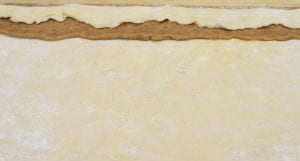
- Roll the filling into a rope approximately 1-inch shorter than the long side of your rectangle. Place the rope on the bottom third of the rectangle and press to flatten, leaving about an inch of dough at the bottom.
- Then begin rolling the dough over the filling, as you would a jelly or cinnamon roll.
- Dab the seam end with a little bit of water. Pinch seams together carefully so the filling doesn’t escape during the baking process.
- Roll up the dough. Cut off the two uneven ends and attach them to one another to close the circle.
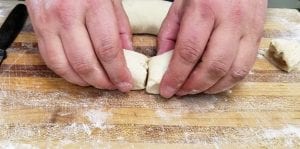
- Brush a little water on the cut ends and press them together carefully. Pinch the seams together and smooth them over with your fingers. Tip: Don’t worry if you don’t get a perfectly smooth seam when adjoining the two ends. Eventually, you will cover the entire cake with icing and colorful sprinkles and the seam will not be visible. What is important is that you seal the two ends well to prevent filling from seeping out while it bakes.
- Place on a parchment paper-lined baking tray and let rise for one hour.
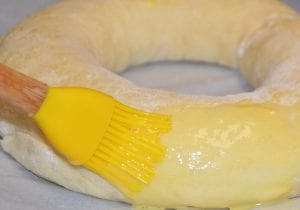
- Lightly brush with egg wash. Make sure to apply a nice even layer all around the top, sides, and inside of the dough ring.
- Bake in a 375° oven for about 20 minutes or until golden brown.
- Allow cooling on a rack for 20-30 minutes.
- Tip: I like to let the cake cool for 1 hour before I begin to glaze and sprinkle it. I find that the cake is a little more sturdy and won’t break as easily as you go through the decorating process.
Decorating
- Add milk and lemon juice to the confectioner’s sugar to make a slightly loose icing.
- Add more milk or lemon juice if necessary to reach desired consistency.
- Working in sections, brush on some icing and sprinkle on one color of the sugar. Repeat with the remaining colors of sugar until the entire cake is covered.
Tip: I like to work in sections. Sometimes when you glaze the entire cake, the icing begins to dry before you can add the sprinkles. So to ensure a nice layer of sprinkles, I suggest decorating the cake in sections.
-
Happy Mardi Gras!


